Physical Address
304 North Cardinal St.
Dorchester Center, MA 02124
Physical Address
304 North Cardinal St.
Dorchester Center, MA 02124

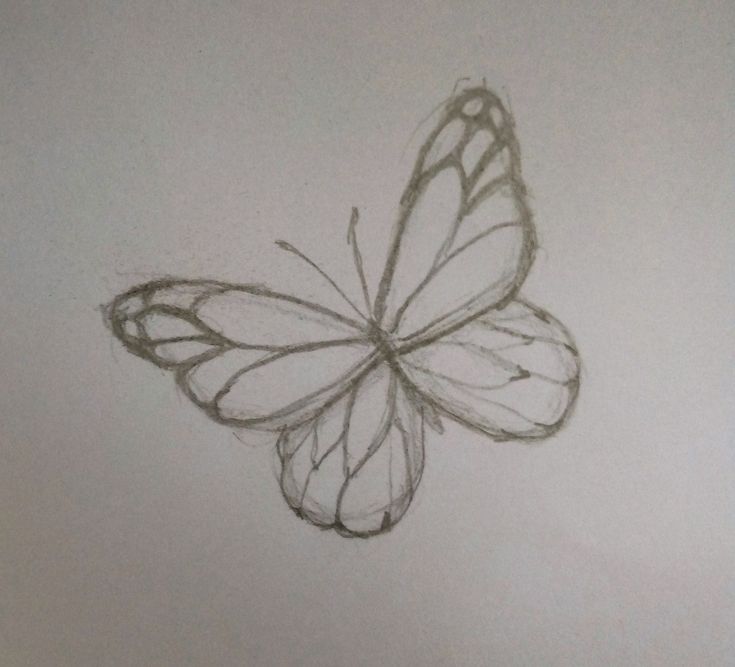
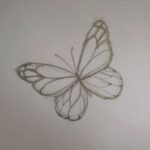
Looking for a fun and easy butterfly drawing tutorial? In this simple guide, kids and beginners can follow step-by-step instructions to create an easy butterfly drawing using just a pencil. No advanced skills needed — just a little creativity, practice, and a love for easy butterfly drawing!
Creating an easy butterfly drawing is a fun and relaxing activity, especially for beginners and kids. In this step-by-step guide, you’ll learn how to draw a beautiful butterfly using just a pencil, paper, and your creativity. Whether you’re starting your artistic journey or simply want a relaxing session, this butterfly sketch tutorial is perfect for you.
Begin by drawing two large, oval-like shapes on each side of your page. These form the upper wings. Below them, sketch two smaller curved shapes to create the lower wings. Keep your lines light so you can make adjustments easily. This structure sets the foundation for your simple butterfly art.
In the center, draw a slim vertical oval — this is the butterfly’s body. Add two curved lines on top for the antennae. These small features help bring your easy butterfly drawing to life.
Butterfly wings often have beautiful patterns. Use circles, dots, heart-like shapes, or swirls to decorate the wings. Feel free to get creative or mimic a real butterfly’s design. This makes your butterfly sketch more unique and detailed.
Use bright colors like blue, pink, orange, or purple. Try blending shades together to give your butterfly a magical or rainbow look. Colored pencils, markers, or watercolors work great for this step.
Now your easy butterfly drawing is complete! This simple tutorial is ideal for all ages and perfect for creative projects, school assignments, or relaxing art time.